When a Form Demands Exactly 200 KB
Government portals, job boards, and exam registrations all do the same thing: demand a photo under some precise number of kilobytes and reject everything else without explaining why. The reason guesswork fails is that the two controls you have do completely different things.
The form says: photograph, JPEG, between 20 KB and 50 KB. Your camera produced 4.2 MB. There is no quality slider in the upload dialog, no guidance, and the rejection message when you get it wrong says only that the file is invalid.
This is an unusual problem because the target is a file size and every control you have adjusts something else. Working backwards from the number is the whole skill.
Two levers, and they are not interchangeable
Dimensions are how many pixels exist. Quality is how carefully each of them is described. Both shrink the file, and they degrade the image in completely different ways.
Cutting dimensions in half quarters the pixel count, which roughly quarters the file. The picture stays clean and simply becomes smaller — every remaining pixel is as accurate as it was. Nothing looks damaged until you view it larger than it now is.
Dropping quality keeps every pixel but describes each less precisely. The picture stays the same size and gets worse: soft blocks in flat areas, colored fringes along sharp edges, and a general mushiness around detail.
Which means the order matters, and most people get it backwards.
Resize first, then compress
Almost every oversized photo is oversized because it is enormous, not because it is described too carefully. A 4000-pixel-wide photo that has to display in a 600-pixel box is carrying about forty times more pixels than anyone will ever see, and no quality setting can fix being too big — it can only describe the excess badly.
So: bring the dimensions down to what the destination actually shows, and only then reduce quality to close the remaining gap. Do it in that order and you can usually keep quality high enough that nothing visible degrades at all. Do it backwards and you end up with a huge, blurry image that is still too large.
If the form specifies pixel dimensions, that decision is made for you. If it only names a file size, use the largest place the image will appear — a profile photo shown at 200 pixels does not need 2000.
Why guessing at quality wastes an afternoon
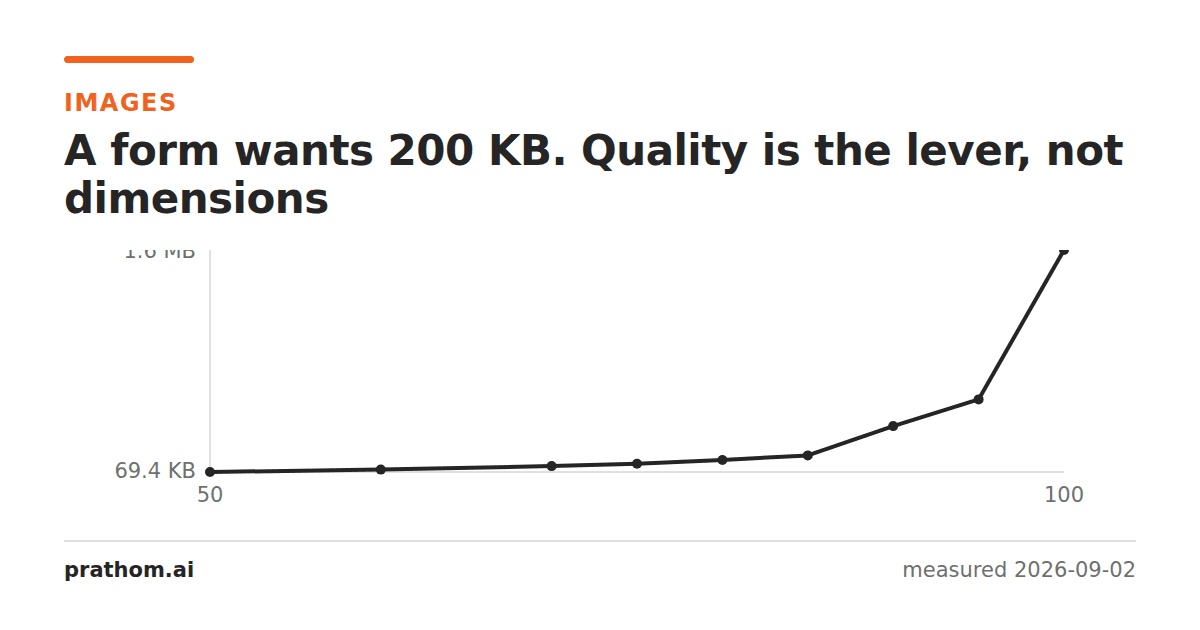
The relationship between a quality number and a file size is not fixed. It depends entirely on the content of the image.
A photograph of a plain wall compresses enormously, because there is almost nothing to describe. The same camera, same settings, pointed at a tree in leaf, produces a file several times larger at the identical quality setting — foliage is fine detail everywhere, which is the hardest thing for a lossy encoder to throw away.
This is why "use quality 60" is advice that cannot work. Quality 60 is 30 KB for one photograph and 180 KB for the next. The setting is not the target; the target is the target.
What actually works is a search. Try a quality, measure the result, and move toward the number: too big means go lower, comfortably under means go higher and recover some fidelity. Each step halves the remaining uncertainty, so five or six tries land within a kilobyte or two of any target. Doing this by hand is tedious and entirely mechanical, which is exactly the kind of loop worth handing to a tool — our image compressortakes the size you name and runs the search for you, returning the best quality that fits underneath it.
Format changes the arithmetic
Before fighting a quality slider, check whether you are in the right format.
A screenshot saved as PNG is often several megabytes and will resist compression, because PNG is lossless and refuses to discard anything. The same screenshot as a JPEG might be a tenth the size. Conversely a photograph saved as PNG is pathologically large — PNG was designed for flat color, and a photograph is the opposite of flat.
If the form accepts more than one format, that choice is worth more than any amount of quality tuning.
Aim under the limit, not at it
Two habits save re-uploads.
Leave headroom. If the cap is 50 KB, target 45. Some systems measure the encoded upload rather than the file on disk, and a file that is exactly at the limit occasionally reads as over it.
Respect the floor. Many forms specify a minimum as well — "between 20 KB and 50 KB" is a real range with two ways to fail. A minimum exists to stop people submitting an unreadable thumbnail, so if you land under it, the fix is to go back and resize less aggressively, not to compress at higher quality and hope.
Check the result at full size
The last step is the one people skip. Open the compressed file and look at it at 100%, not at the thumbnail.
Look specifically at faces, at any text in the image, and at edges between strongly different colors. Those three are where lossy compression fails first and most visibly. A photo that looks fine in a preview strip can have a face that has gone waxy, and the form will accept it happily — the size check passes, and nobody at the other end is going to tell you your passport photo looks like it was carved from soap.