Six Ways to Shrink an Image, and What Each One Costs
Every image editor has a dropdown of resampling filters with names like Bicubic, Lanczos and Nearest Neighbor, and almost nobody changes it. The differences between them are real, they are measurable, and which one is right depends on what is in the picture rather than on which sounds most advanced.
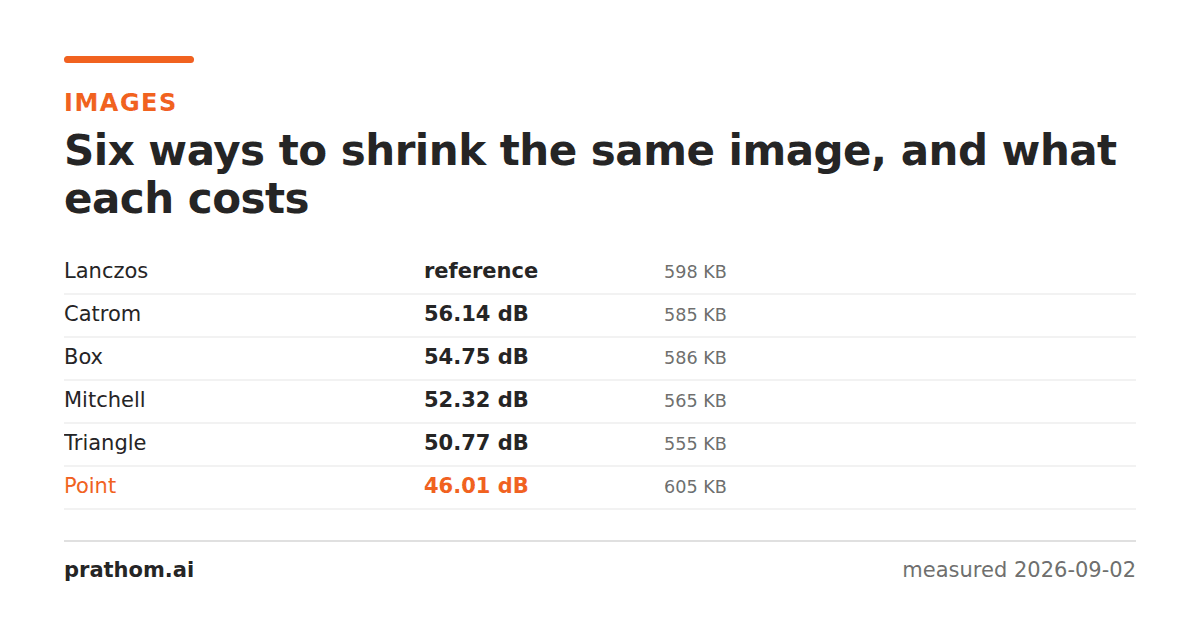
The same 1600×1200 photograph reduced to half size with six different resampling filters, each compared against the Lanczos result as a reference:
| filter | output size | difference from Lanczos |
|---|---|---|
| Lanczos | 612,199 B | — |
| Catrom | 598,542 B | 56.14 dB |
| Box | 600,019 B | 54.75 dB |
| Mitchell | 578,915 B | 52.32 dB |
| Triangle | 568,798 B | 50.77 dB |
| Point | 620,003 B | 46.01 dB |
Higher is closer. Point — nearest neighbor — is by far the furthest from every other option, and it also produced the largest file, which is a useful clue about what it is doing wrong.
What each filter actually does
When you halve an image, each output pixel corresponds to a 2×2 area of the input. The filter is the rule for turning that area into one value.
Point (nearest neighbor) picks one input pixel and ignores the other three. It does no arithmetic, which makes it fast, and it throws away three quarters of the data, which makes it noisy. The result is aliasing: fine detail that cannot be represented at the new size reappears as coarse false patterns — moiré on fabric, on brickwork, on any regular texture. Those false patterns are new high-frequency content, which is why the file got bigger than the properly filtered versions.
Box averages the pixels in the area equally. Simple, and much better than Point because it at least uses all the data.
Triangle (bilinear) weights by distance, so nearer pixels count more. Slightly softer than Box on a straight halving.
Mitchell and Catrom are cubic filters — they look at a wider neighborhood and can weight some pixels negatively, which sharpens edges. Catrom is the sharper of the two and came closest to Lanczos here.
Lanczos uses a windowed sinc function over a still wider neighborhood. It is generally regarded as the best general-purpose downscaler and it is what most image libraries use by default.
The choice that actually matters
For photographs, the difference between Lanczos, Catrom and Mitchell is small and you will not see it. The difference between any of them and Point is large and you will.
The real decision is a different one, and it is about content rather than quality:
Pixel art, QR codes, and anything where a pixel is a unit of meaning: use Point. This is the one case where the "worst" filter is the only correct one. Smoothing a QR code blurs the boundary between modules and can make it unreadable. Smoothing pixel art destroys the entire aesthetic. Nearest neighbor is not a low-quality option here; it is the faithful one.
Screenshots and interface captures: be careful at non-integer scales. Halving a screenshot is fine with any good filter. Scaling to 73% will blur one-pixel lines whatever you choose, because a one-pixel line has nowhere to go. If you can, scale by whole factors or not at all.
Photographs: use whatever your tool defaults to, which is almost certainly Lanczos or a cubic, and spend your attention on the output format instead.
Upscaling is a different question entirely
Everything above is about making images smaller, where the filter is choosing how to discard information. Making them larger is choosing how to invent it, and the filters behave differently: Lanczos produces visible ringing on hard edges when upscaling, and a cubic or even bilinear can look cleaner.
No conventional filter adds detail that was not there. Enlarging a 200×200 image to 800×800 gives you a 800×800 image with 200×200 worth of information in it, smoothly spread out. That is worth knowing before you spend time choosing between filters for an upscale — the choice is between different kinds of softness.
Sharpening after a downscale
Almost every good downscale looks slightly soft, because averaging is a low-pass operation by definition. A small amount of sharpening afterwards is standard practice and does more for perceived quality than the choice of filter does:
magick input.png -filter Lanczos -resize 50% -unsharp 0x0.75+0.75+0.008 out.png
Applied before the resize it would be wrong — you would be sharpening detail that is about to be discarded, which just makes the aliasing worse.
Reproducing the comparison
for f in Point Box Triangle Catrom Lanczos Mitchell; do
  magick photo.png -filter $f -resize 50% rs-$f.png
done
magick compare -metric PSNR rs-Lanczos.png rs-Point.png null:
Swap the reference if you prefer; the point is the size of the gap between Point and everything else, which holds whichever member of the group you measure against.