Progressive JPEG Is Usually Smaller, Except When It Is Not
Performance guides tell you to save JPEGs as progressive, because they render in increasing detail rather than top to bottom and because they are smaller. The rendering claim is straightforwardly true. The size claim depends on the image, and on one of our two test images progressive was the larger file.
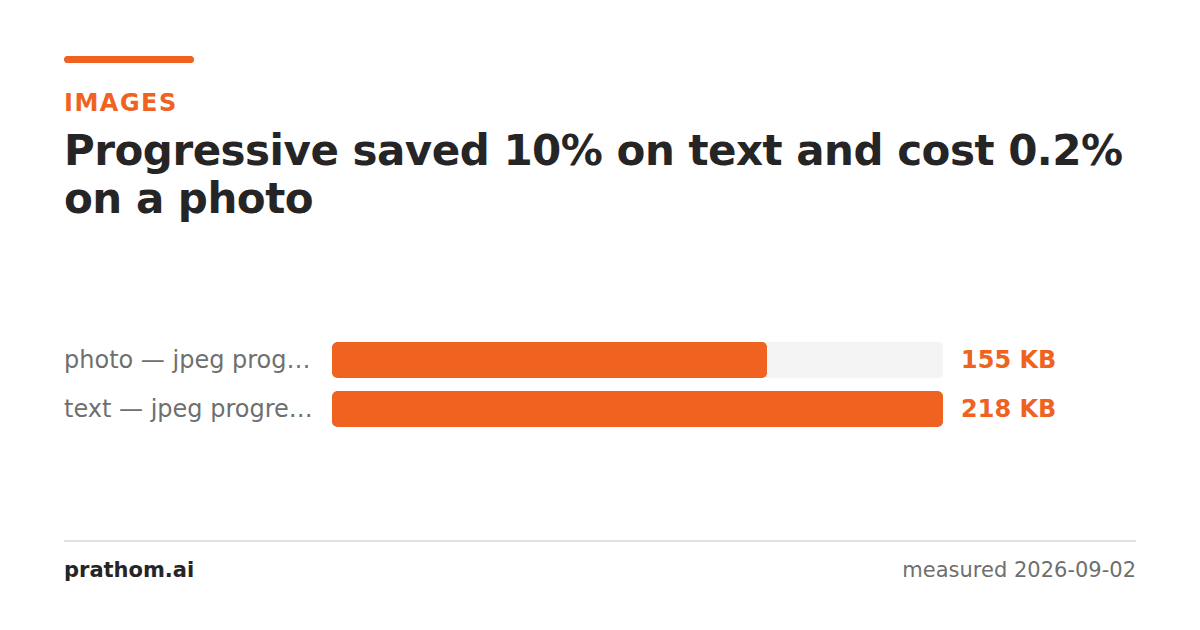
The same two images saved at quality 80, baseline and progressive:
| image | baseline | progressive | change |
|---|---|---|---|
| photograph | 158,774 B | 159,124 B | +0.2% |
| page of text | 247,092 B | 223,359 B | −9.6% |
Progressive won clearly on one and lost slightly on the other. The advice to always use it is a reasonable default rather than a law, and the reason it varies is worth understanding because it tells you which of your images will benefit.
What progressive actually changes
A baseline JPEG stores the image in one pass, block by block, left to right and top to bottom. A decoder can only draw what it has received, so the image appears as a curtain coming down the page.
A progressive JPEG stores the same data in several scans. The first scan carries only the low-frequency coefficients of every block — enough for a blurry version of the whole image. Later scans add successively finer detail. A decoder can render after every scan, so the image appears complete immediately and sharpens.
The data is the same data. It is reordered, and reordering changes how well it compresses.
Why reordering can help
JPEG's final step is Huffman coding, which assigns short codes to common values and long codes to rare ones. Grouping similar coefficients together makes the distribution within each group more predictable, so the codes get shorter.
Progressive encoding groups by frequency across the whole image rather than by position. All the low-frequency coefficients of every block sit together; all the high-frequency ones sit together. Where an image has many blocks that resemble each other, that grouping is a large win — and a page of text is exactly that, because most blocks are either blank white or contain a letter stroke.
A photograph's blocks are all different from each other, so grouping them by frequency does not concentrate anything, and the per-scan overhead — each scan has its own header and its own Huffman tables — slightly outweighs the gain.
The rendering argument is the stronger one
Even on the image where progressive cost 0.2%, it is probably still the right choice, because the perceived loading behavior is genuinely better.
A baseline image on a slow connection shows nothing, then a strip, then more strips. The user cannot tell what the picture is until most of it has arrived. A progressive image shows a recognizable, blurry version of the whole thing after roughly the first 15% of the bytes, and refines from there. For a page that is mostly images on a mobile connection, that is the difference between a page that looks broken while loading and one that looks like it is working.
The counter-argument is that on a fast connection nobody sees either behavior, and progressive costs slightly more CPU to decode — three or four passes over the image data instead of one. On a low-end phone rendering a gallery of forty images that is measurable, though small.
Where it does not apply
Very small images. Below about 10 KB the multi-scan overhead dominates and progressive is reliably larger. Thumbnails, icons and avatars should be baseline.
Images that are not JPEG. PNG's equivalent is interlacing, and it behaves differently and worse — it cost 27% on a photograph in the same test. WebP has no progressive mode at all.
Anything decoded by a constrained device. Some embedded and older hardware decoders handle baseline only, which is why progressive is rare in cameras and in formats destined for print workflows.
What to do
For photographs on the web above roughly 10 KB, progressive is a sound default: the size is a wash and the loading behavior is better.
For screenshots and text-heavy images that you are saving as JPEG anyway — although you probably should not be— progressive is a clear size win as well.
For thumbnails, baseline.
magick input.png -quality 80 -interlace JPEG progressive.jpg
magick input.png -quality 80 -interlace none baseline.jpg
ls -l progressive.jpg baseline.jpg
Two commands and a listing will tell you which side your particular image falls on, which is more reliable than a rule that was formed on photographs and then applied to everything.