Cutting a Graphic to Sixteen Colors Saved Fourteen Per Cent
Reducing the palette is standard advice for shrinking a PNG, and on a graphic that is already flat color it buys far less than the drastic-sounding change suggests. The reason is that PNG was already exploiting the same redundancy, and it had got there first.
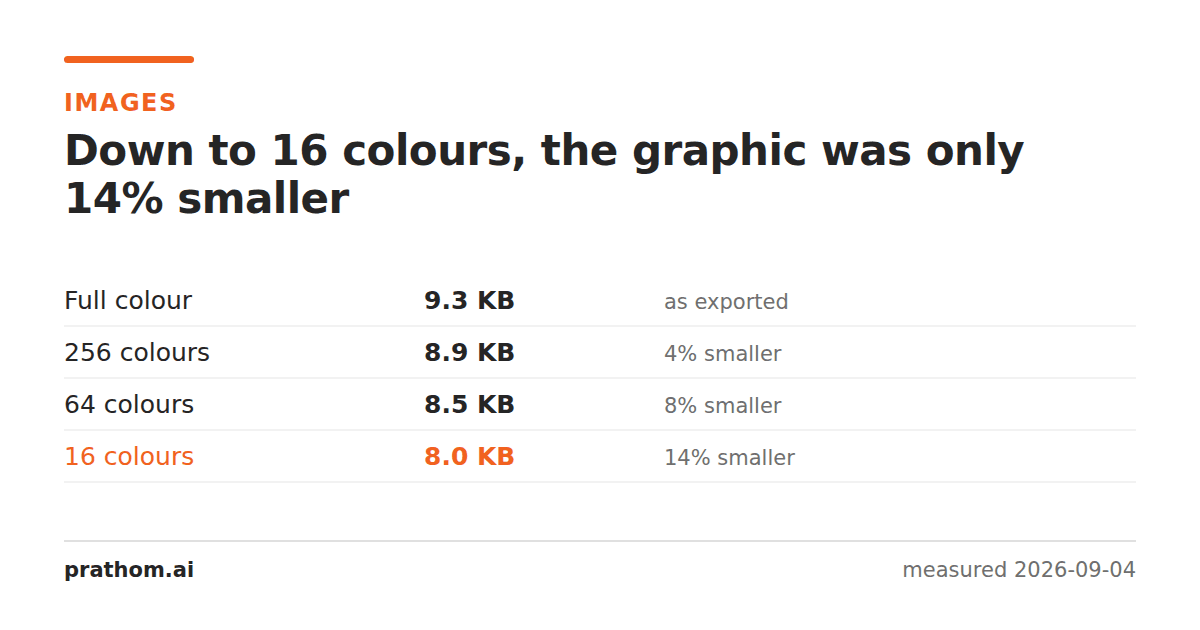
A flat-color graphic, quantized to smaller and smaller palettes:
| palette | size | saving |
|---|---|---|
| as exported | 9,484 B | — |
| 256 colors | 9,129 B | 4% |
| 64 colors | 8,745 B | 8% |
| 16 colors | 8,148 B | 14% |
Sixteen colors is a severe reduction — the kind that visibly bands a gradient — and it bought fourteen per cent.
Why the saving is so small
PNG compresses by finding repetition. A graphic made of flat areas is already almost entirely repetition: long runs of identical pixels, and rows that are identical to the row above. The compressor has already collapsed that.
Reducing the palette removes a different kind of redundancy — the number of distinct values — and on this image there was not much of it to remove. The picture only used a modest number of colors to begin with, so telling it to use sixteen mostly rounded off values that were rarely used.
The rule that falls out: palette reduction pays in proportion to how many colors the image was actually using. On a photograph, thousands; the reduction is dramatic and so is the damage. On a logo or a UI screenshot, few; the saving is small and so is the damage.
Where it does pay
Screenshots with photographic content. A UI capture containing a photo, a map or a gradient has the worst of both: mostly flat, with a region full of distinct colors. Quantizing that region is a real saving.
Images destined for a GIF. GIF is limited to 256 colors per frame anyway, so choosing the palette deliberately beats letting the converter choose badly. That is one of the levers in making a GIF smaller.
Very large flat images. The saving is a percentage, so 14% of a large file is worth more than 14% of nine kilobytes.
What to do instead on a graphic
If a flat-color PNG is bigger than you want, the reductions that actually move the number are, in order:
- Dimensions. Halving the width quarters the pixels, and on flat color the file follows closely.
- A different format. Lossless WebP was smaller than PNG on every image we tried, typically by a fifth to a third — more than palette reduction gave here, with no visible change at all.
- Maximum compression. PNG's highest compression level is free and almost nobody uses it.
Palette reduction is fourth, and it is the only one of the four that a viewer can see.
Check how many colors yours actually uses
magick identify -format "%k unique colors\n" graphic.png
That single number predicts everything. A logo or a UI screenshot will often come back with a few hundred, and quantizing it to 256 changes almost nothing in either direction. A photograph will come back with tens of thousands, and there the reduction is dramatic and so is the damage.
Run it before reaching for a palette setting, because the answer decides whether the setting is worth touching at all.
Where the saving turns into a visible cost
The failure mode is banding. A gradient rendered in sixteen colors becomes a set of stripes, and once it is banded there is no way back — the intermediate values are gone.
Dithering hides banding by scattering pixels between two palette entries, and it undoes most of the size saving in the process, because scattered pixels are noise and noise does not compress. So on any image with a gradient the realistic outcome is: reduce colors and see stripes, or dither and save nothing.
That is the case for leaving the palette alone and reaching for a format that handles the same image better.
The practical version
Image compressapplies the safe reductions first. PNG to WebPis usually the single largest win available on a graphic, and it is lossless. Image palette generator is the tool for the other reason to care about a palette — pulling the colors out of an image to use elsewhere, which is a design question rather than a size one.
Finally, the order matters as much as the choice. Reducing colors before resizing wastes most of the benefit, because the resize will blend palette entries back into intermediate values and you end up with the damage and not the saving. If both are happening, resize first and quantize last — and check the result at full size before committing, since banding is the failure that only appears once you look closely.